
In the first part of the series, we built the foundation: a pipeline that builds once, runs tests, and produces a versioned artifact. We also established the key principle – build once, deploy many.
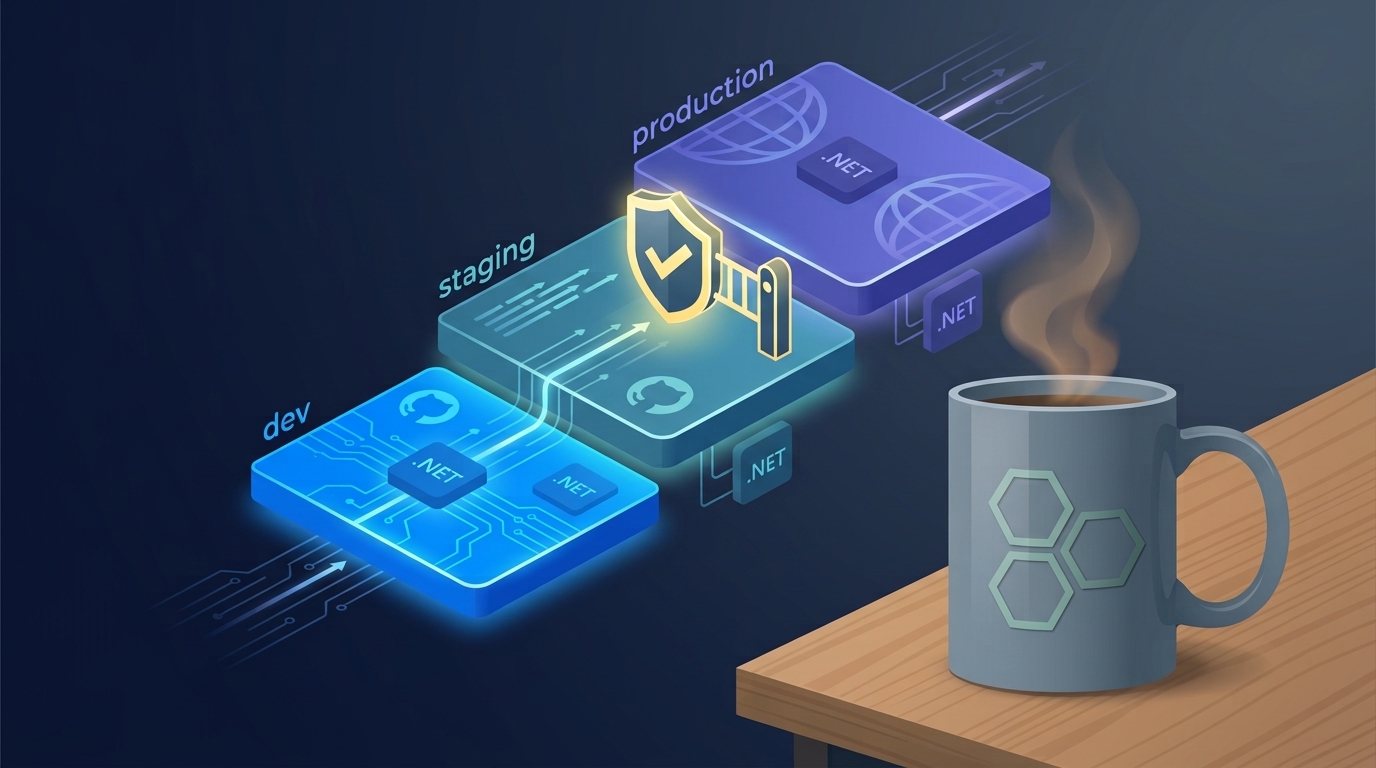
Now comes the part where that artifact actually goes somewhere. But not directly to production. We pass it in a controlled way through separate environments – dev, staging, production – with a human approval before the final step.
The question is not just how the code gets to production, but who presses the button and when.
🎯 What are GitHub Environments
An environment in GitHub is a logical deployment target – dev, staging, production – which has its own protection rules, its own secrets, and its own variables.
Practically, an environment gives you three things:
-
Protection rules – who must approve, how long to wait, from which branch deployment can be done.
-
Secrets and per-environment variables – the staging connection string is different from production’s, and each stays only in its own environment.
-
Deployment history – see which version is in each environment and who promoted it.
🛠️ How to create environments
In the repo, go to Settings → Environments → New environment. Create three: dev, staging, and production.
For dev, you put no restrictions – you want quick feedback. For staging, you can set light restrictions. For production, you put all guarantees: reviewers and branch restrictions. That’s the idea – the closer the environment is to customers, the stricter the gate.
🚦 Protection rules (approval gates)
Here lies all the value. On the production environment, you activate:
Required reviewers
Choosing up to 6 people (or teams) who must approve before the deployment starts. This is the approval gate: when the pipeline reaches the production job, it stops and waits for someone to press Approve. Until then, nothing happens.
Wait timer
A mandatory delay (from a few minutes up to 30 days) before the deployment continues. Useful when you want a safety window in which someone can cancel.
Deployment branches
You restrict from which branches deployment can be done to this environment. Typically: only main reaches production. This way, no one accidentally promotes a feature branch directly to customers.
🔐 Secrets and per-environment variables
Each environment keeps its own secrets and variables. A secret defined on production is visible only to a job running in the production environment – and only after passing the approval gate.
This elegantly solves a real problem: you no longer have a single global set of secrets accessible by any job. The production connection string is isolated in its environment.
What differs between environments is the configuration – secrets, connection strings, feature flags – not the artifact. The binary remains the same.
🧩 How to reference an environment in a workflow
You link a job to an environment with the environment property. When the job starts, GitHub automatically applies the protection rules of that environment:
jobs:
  deploy-staging:
    runs-on: ubuntu-latest
    needs: build-test
    environment:
      name: staging
      url: https://staging.example.com
    steps:
      - uses: actions/download-artifact@v4
        with:
          name: app
          path: ./publish
      # ... deploy step
Notice actions/download-artifact – we don’t rebuild anything. We take exactly the artifact produced by the build job and put it in staging. This is build once, deploy many in practice.
🏗️ The complete pipeline: build → staging → production
Putting it all together. A build job that produces the artifact, a deploy to staging, then a deploy to production that waits for approval:
name: CI/CD

on:
  push:
    branches: [ main ]

jobs:
  build-test:
    runs-on: ubuntu-latest
    steps:
      - uses: actions/checkout@v4
      - uses: actions/setup-dotnet@v4
        with:
          dotnet-version: '8.0.x'
      - run: dotnet build --configuration Release
      - run: dotnet test --configuration Release --no-build
      - run: dotnet publish ./src/Api/Api.csproj -c Release -o ./publish
      - uses: actions/upload-artifact@v4
        with:
          name: app
          path: ./publish

  deploy-staging:
    runs-on: ubuntu-latest
    needs: build-test
    environment:
      name: staging
      url: https://staging.example.com
    steps:
      - uses: actions/download-artifact@v4
        with:
          name: app
          path: ./publish
      - name: Deploy to Azure (staging)
        uses: azure/webapps-deploy@v3
        with:
          app-name: my-app-staging
          package: ./publish

  deploy-production:
    runs-on: ubuntu-latest
    needs: deploy-staging
    environment:
      name: production
      url: https://example.com
    steps:
      - uses: actions/download-artifact@v4
        with:
          name: app
          path: ./publish
      - name: Deploy to Azure (production)
        uses: azure/webapps-deploy@v3
        with:
          app-name: my-app-prod
          package: ./publish
The flow is linear and controlled: build-test produces the artifact, deploy-staging puts it in staging (needs: build-test), and deploy-production waits on staging (needs: deploy-staging). Because production has required reviewers, the last job stops and waits for approval.
Note: the Azure login step itself was intentionally left out – in part 5 we will see how to connect fully without passwords, using Managed Identity and OIDC. Here we focus on the mechanics of environments.
👀 What approval looks like in practice
When the pipeline reaches the production job, the Actions tab shows the Review deployments button. The reviewer sees what is about to be promoted, can leave a comment, and presses Approve and deploy or Reject.
Until approval, the artifact waits quietly – tested, ready, but not installed in production. Exactly the control you want before a release.
✅ Some healthy rules
-
dev without restrictions, production with reviewers and branch restrictions – strictness increases towards customers.
-
Keep secrets in the environment, not globally – each environment sees only what it needs.
-
Never rebuild per environment – always promote the same artifact.
-
Use url in environment to have a direct link to the deployed environment in the run history.
Conclusion
Environments transform a simple deploy into a controlled process: the same artifact moves through dev → staging → production, each environment with its own secrets, and before production there is a real approval gate. Nothing reaches customers without someone consciously pressing the button.
In part 3 we go one level down: instead of creating Azure resources manually from the portal, we define them in code with Bicep – so deployment includes infrastructure as well, not just the application.